
Tracking World is a program to control a character through the use of VR. It can be used to produce videos, livestreams and other content. It offers many customization features such as creating hand gestures, binding expressions and gestures to buttons and keys, saving and replaying motion, etc...
Here are the different controller buttons used in VR
Tracking World supports characters in VRM format. For more information about VRM, consult https://vrm.dev/en/.
From the start screen, select an avatar. The avatar will be displayed on screen. You can also load a scene. For more information about scenes, consult the Creating a scene section. Press start to begin.
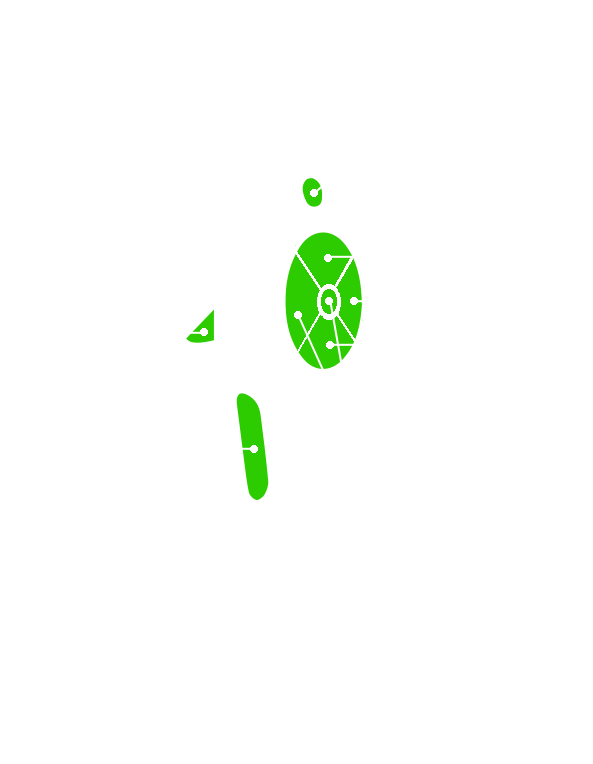
In VR, you will be able to see the avatar. There is a number of elements that can be interacted with inside VR.
To adjust your size relative to the character, grab and move the sliders.
The vertical slider will rescale the whole area to make it bigger or smaller
The horizontal slider doesn't have an immediate impact, but it will display transparent versions of the controllers and every tracker. These transparent objects will need to be aligned with the hands instead of the controllers themselves.
The button with an arrow resets the slider's position.
Align yourself with the avatar, then activate the Calibrate button. A 5 seconds timer will appear. Once the calibration is done, the character will move according to your motion.
The VR environment also contains a way to see and interact with the desktop. A short press on the desktop sphere will trigger the desktop on or off. A constant press will grab it to be able to move it.

The cursor button next to it activate or deactive the use of the controller as a desktop cursor.
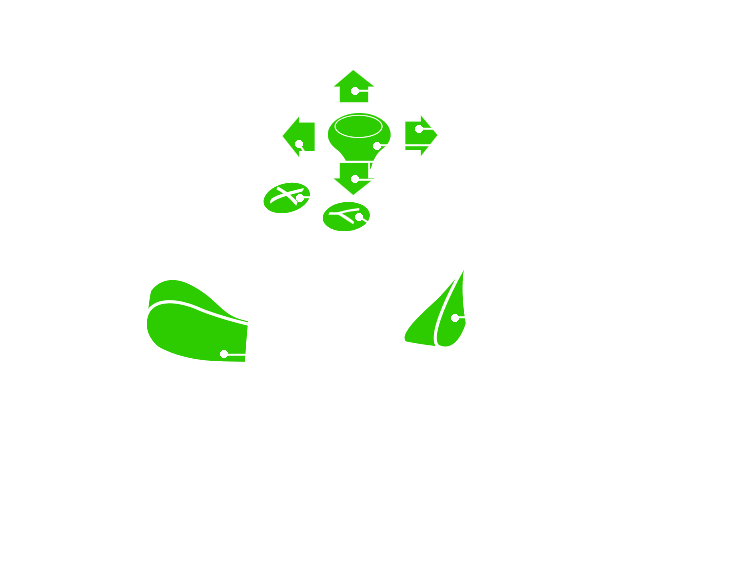
The camera can be controlled from both VR and desktop. In VR, the camera can be grabbed and moved. On desktop, the camera is controlled by clicking in the window.
Left button: rotate the camera
Right button: translate the camera
Both buttons: move the camera forward and backward
Middle button: rotate around the character
Mouse wheel: change the camera's field of view
The configuration menu can be accessed from the desktop window by moving the mouse on the top right and clicking on the gear icon that appears.
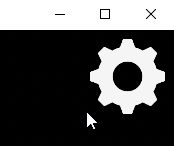
The configuration menu will then appear.

This button will trigger calibration instantly. When calibrated, the button will reset to pre-calibration state
Additional settings for the application
Save and load calibration: Allows you to save or reload an existing calibration profile. All the trackers's relative position will be kept, allowing you to quickly get back into movement without running configuration again
360° Cubemap size: The resolution of the cubemap when using 360° camera. The higher it is, the more detailed the image will be, however it will require exponentially more processing power. If the setting is changed while in 360° mode, the mode has to be turned off and on to take changes into account.
Window size: Change the size of the main window
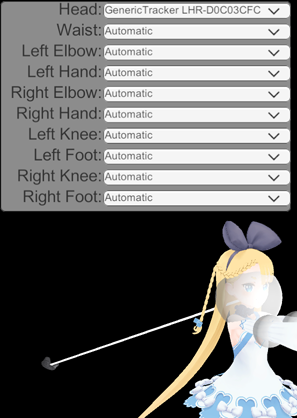
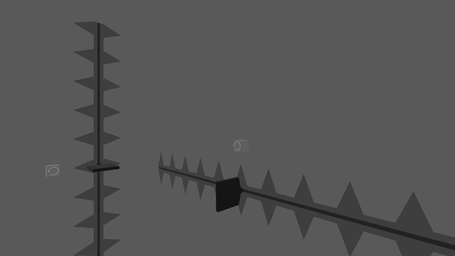
Assignment of trackers: The window in the middle can be used to set in advance the assignment of body parts to trackers rather than using the automatic way of whichever's closest. When a tracker has been assigned, a line will be displayed from the tracker to the body part.
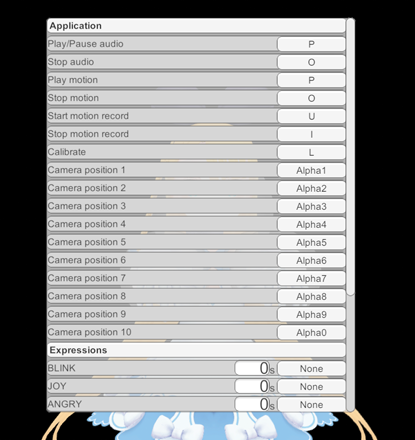
This window will display all shortcut keys for the application. The list will show all the functionalities of the application that can be triggered with shortcuts, as well as all the expressions available in the model, and every hand gesture created through the Gesture editor.
Shortcuts can be associated to either a keyboard key or a button on either controllers. Every button on the controller is bound to an action Expression 1-8. The bindings can be changed through SteamvR's binding interface.
The number field in some rows indicate the time (in seconds) for the effect to apply.
Expressions and shortcuts have a Toggle checkbox. When enabled, that shortcut is now in toggle mode. The button doesn't need to be held to activate it, instead pressing the button will toggle the effect on or off.
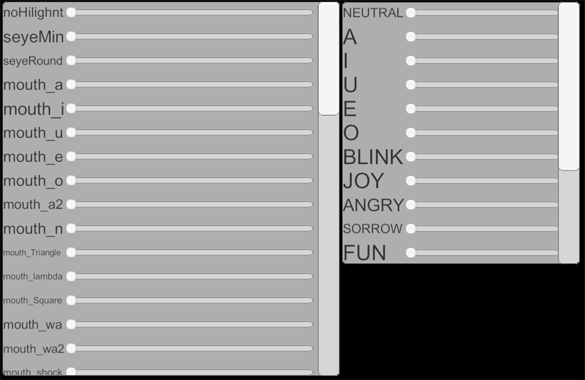
This window lists all the blendshapes in the model and allows you to control them.
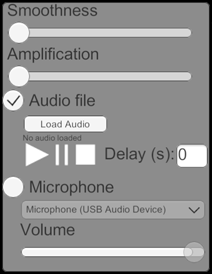
This window controls the lipsync of the character.
The smoothness slider makes the lip sync smoother when changing visemes. The amplification slider can be used to increase the intensity of visemes during lip sync.
There are two modes, audio file input and microphone.
On Audio file, it is possible to load an audio file in wav, mp3 or ogg format and play it to activate lipsync. The delay field indicate the time delay between the sound and the actual lipsync.
On Microphone, you can choose a microphone device as the input to drive lipsync. You can adjust the volume of the input relative to the lipsync.
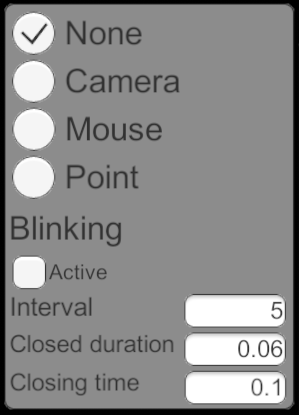
This window controls how the eyes of the character move. There are multiple modes available
Blinking: Activate to use auto-blinking.
Interval is the maximum time in seconds between blinks. The time is randomized between 0 and this number.
Closed duration is how long the eyes remain closed when blinking
Closing time is the time it takes for the eyes to open and close
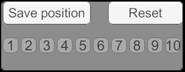
This window can be used to save and reload camera positions. Use the Save position button then select one of the 10 numbered buttons to save the current camera position to this slot. Click on the slot button to return the camera to the saved position.
The Reset button returns the camera to the starting position.
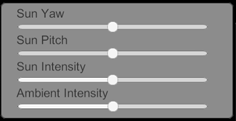
This window controls the lighting. The sliders affect the different aspects, such as the orientation and intensity of the sun, as well as the ambient lighting.
Those settings cannot be changed when a scene is loaded. The lighting of the scene is used instead.
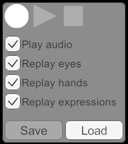
This window allows you to record motion and replay it. Use the record and play buttons to save all the motions done during the duration. The Play audio checkbox indicates if the audio file from the Audio panel be played at the same time. The other options control if you want certain aspects of the recording to be ignored when replaying.
It is also possible to save and load motion from a file.
This menu manages how the character's hands and fingers are controlled.
On Gestures mode:
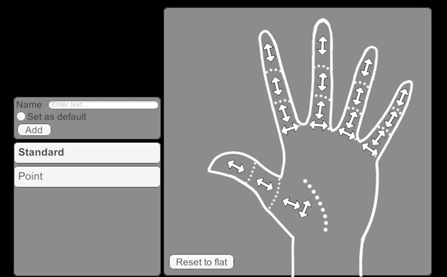
This window allows you to create new hand gestures. Use the arrows to move the fingers into position, then add a new gesture to the list. The gesture marked as default will be the one active when none of the others are.
Once a gesture has been created, it can be assigned a shortcut from the shortcuts window.
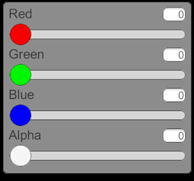
This window controls the color of the background. The alpha component can be useful with recording programs that support transparent sources.
Those settings cannot be changed when a scene is loaded.
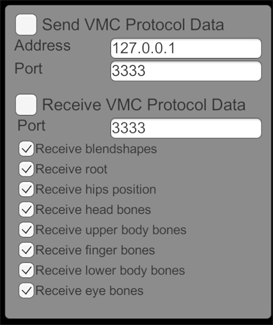
VMC protocol is a way to transmit motion capture information between different applications. For more info, check https://protocol.vmc.info/.
The data can be sent to other programs like VSeeFace if they are receiving VMC data. This is done using IP and port. If the data is sent locally, using the localhost address 127.0.0.1
It is also possible to receive VMC data. The data can be filtered specifically, for instance, only applying the upper body or face expressions.
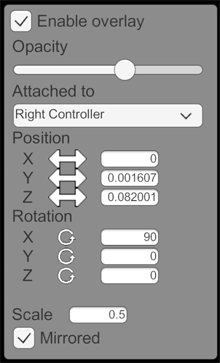
The preview overlay is a screen visible in VR that mirrors what is shown on the dekstop window. It can be used to keep an eye on what the final result looks like while in VR.
This screen can be configured and disabled.
The opacity can be adjusted, to make it more or less visible.
By default, the overlay is static, but it is possible to attach it to the headset or one of the controller.
Position and rotation can be changed. By dragging the arrows, you can move or rotate the screen. The scale can also be adjusted. In the desktop window, the overlay will appear as a while square, to help configure the position.
The Mirrored checkbox will flip the image on the overlay.
The overlay will appear over everything and will display even with VR rendering off.
Renders the camera in panorama mode, allowing the recording of 360° videos
It is possible to create a custom scene and load it into Tracking World. Scenes can have all kinds of elements, including objects that can be grabbed.
Scenes are created in Unity. The recommended version is 2020.3.0f1 but older versions can work too.
Import the TWSDK into a project. Then create the scene in Unity
For the scene, you cannot use any script that isn't part of default Unity or the TWSDK.
You can add the GrabObject component to an object to make it grabbable. The object must have a collider to be grabbed.
It is recommended to have a floor with a collider so that teleporting would work
The character will always start at position 0,0,0.
Play buttons are a way to trigger events from within the scene. Create an empty gameobject and add the Play Button script to it
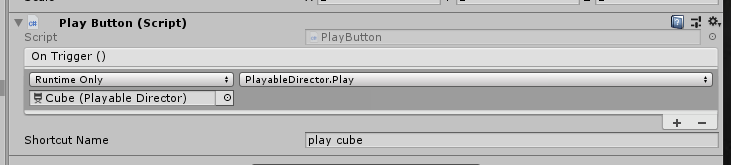
In the On Trigger field, indicate what should activate when the button is pressed. You can call any method from any object in the scene. If you give it a shortcut name, it will appear in as a shortcut and can be bound to a key.
A special script that can be given to an object. When a scene has a Camera Substitute, the camera in Tracking World can no longer be moved. Instead, its position will be forever attached to the Camera Substitute. By moving the substitute, with an animation for instance, it is possible to manage the camera's position. The substitute also has a Field of view attribute to control the FOV of the camera itself.
Post Processing effects can be added in a scene. You need to import the Post processing package (Window -> Package Manager -> Post Processing) and then add a Post Processing Volume in the scene. You can then edit a post processing profile and add the effects you want.
Once you are done, go to the TWSDK menu and select Export scene
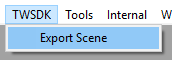
This will generate a .trscene file that you can load into Tracking World